1) Introduction
The Trumeter Public API provides secure, read-only access to your device metadata and telemetry so you can automate reporting, integrate with BI tools, and build custom monitoring solutions.
- Automate device data retrieval
- Integrate current & historic telemetry into external tools
- Build custom dashboards & alerts
2) Getting Started
Step 1 – Sign up (if needed)
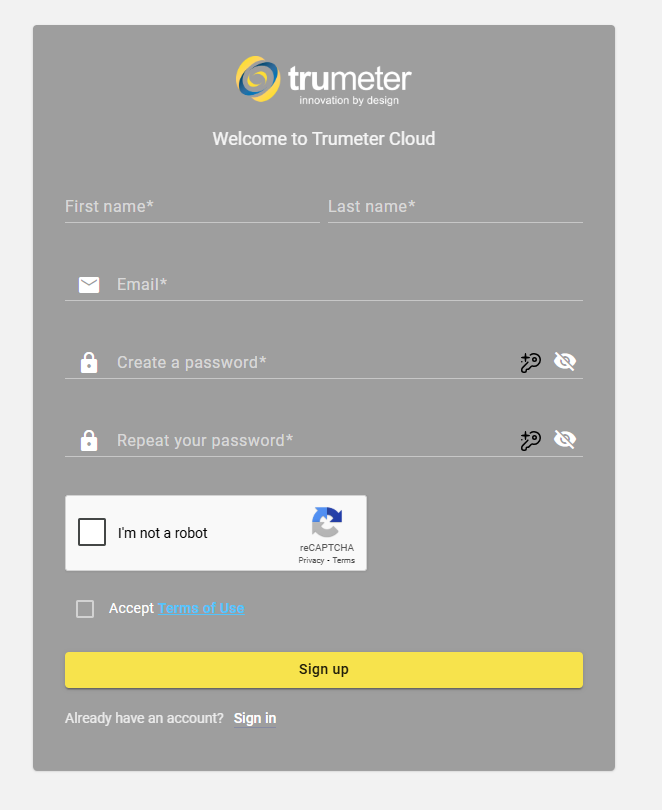
- Visit cloud.trumeter.com.
- Create an account using your company email.
- Verify your email and sign in.
Step 2 – Generate an API Token
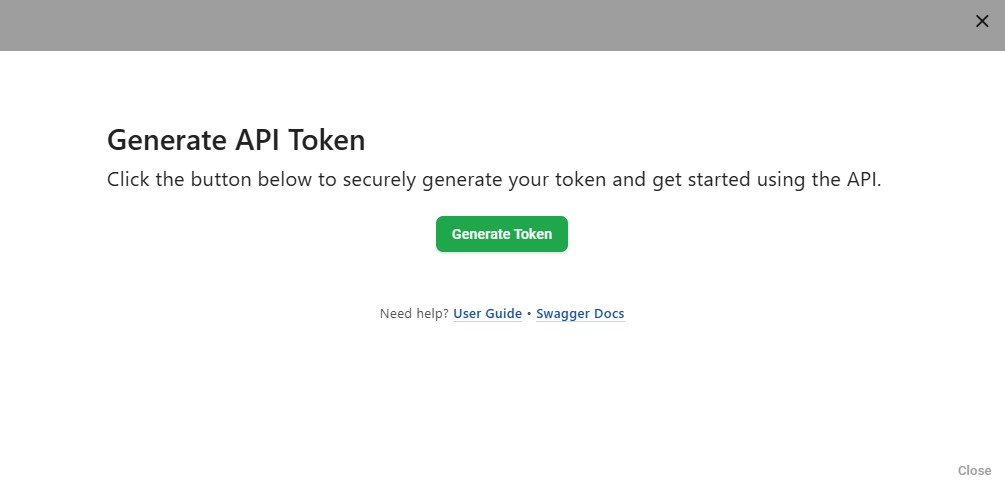
- On the Dashboard, click the Key icon.
- In the API Token widget, click Generate Token.
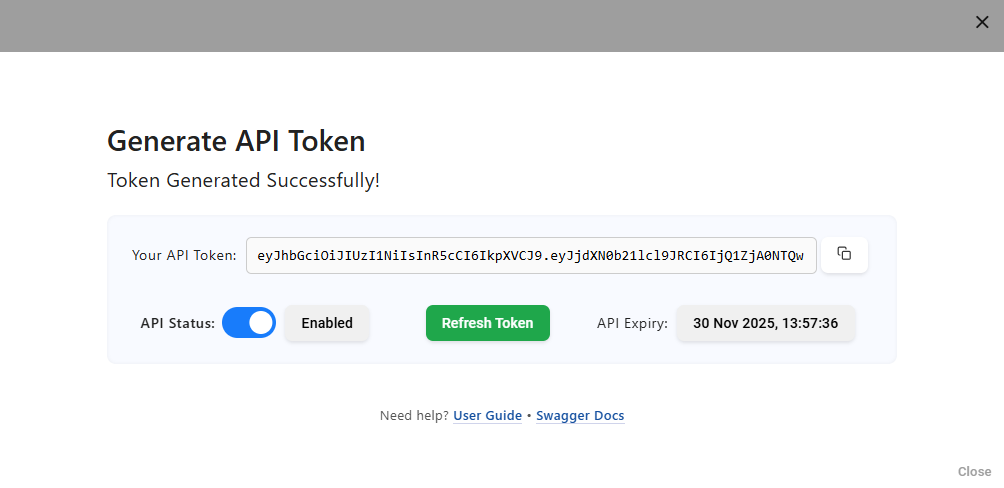
Step 3 – Manage Your Token
The widget shows:
- Token with Copy button
- Expiry date
- Enable/Disable switch
- Regenerate token
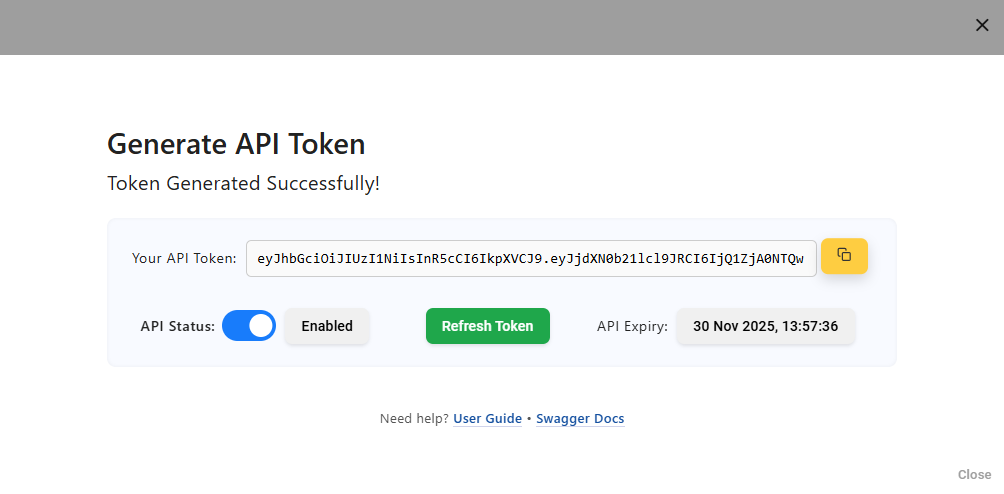
Step 4 – Copy Your Token
Click Copy. You’ll use this token in the X-Authorization header as a Bearer token.
3) Using the API
Include your token in every request:
curl -X GET "https://api.trumeter.cloud/[endpoint]" \
  -H "X-Authorization: Bearer <your_token_here>"
DeviceList
curl -X GET "https://api.trumeter.cloud/api/deviceList" \
  -H "X-Authorization: Bearer <your_token_here>"
CurrentData
curl -X GET "https://api.trumeter.cloud/api/currentdata?device_serial_no=1234567890" \
  -H "X-Authorization: Bearer <your_token_here>"
HistoricData
curl -X GET "https://api.trumeter.cloud/api/historicalData?device_serial_no=1234567890&key=voltage&from=1761916693596&to=1761916706974" \
  -H "X-Authorization: Bearer <your_token_here>"
Important Responses headers include: X-RateLimit-Limit, X-RateLimit-Window, X-RateLimit-Remaining,API-Calls-Left,Content-Type.
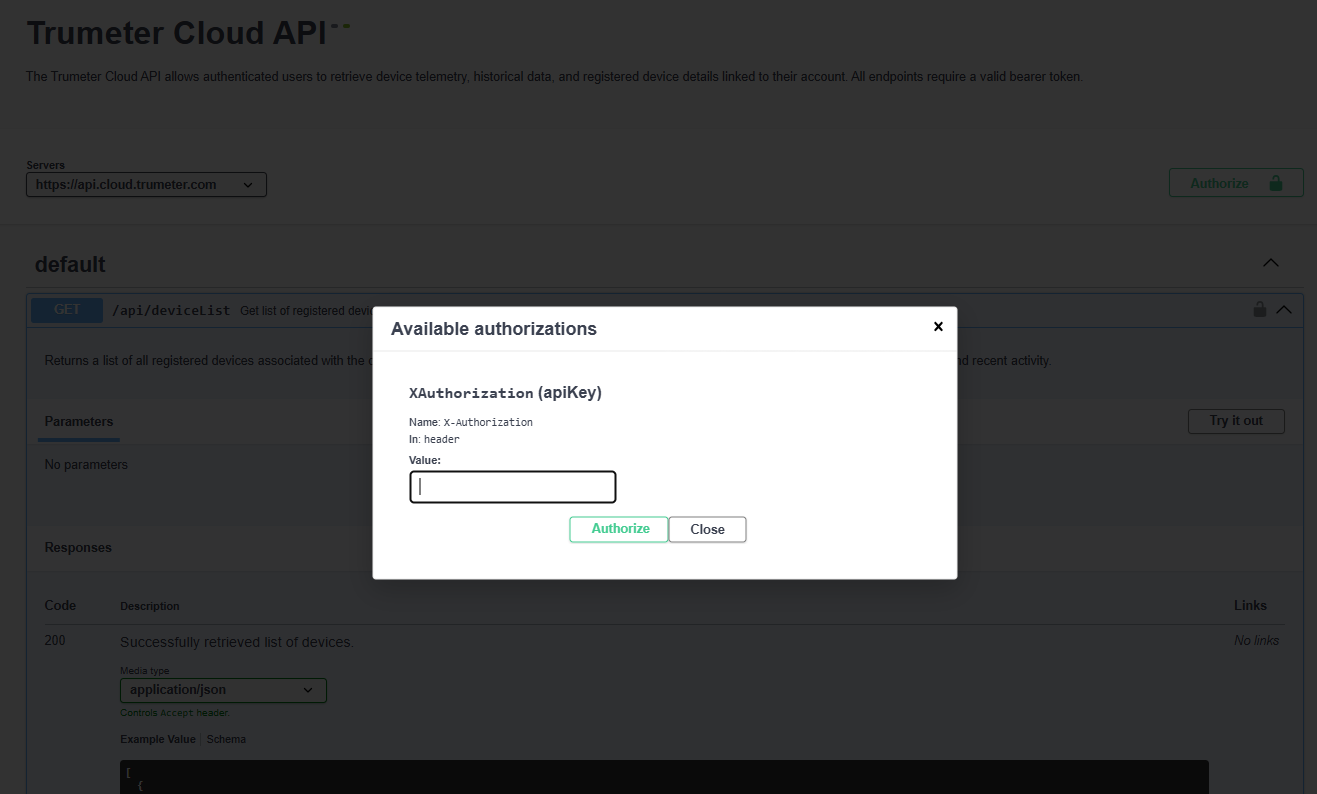
4) Swagger Documentation
- Open the Swagger UI (documentation URL provided by Trumeter).
- Click the Authorize button.
- Paste your token (without the word Bearer—the UI will prepend it).
- Choose an endpoint → Try it out → Execute.
5) Additional Notes
- API quotas and rate limits apply per customer account.
- Use Epoch format (milliseconds) for timestamps.
- Errors follow a standard schema (see Swagger: 400, 401, 404, 429, 500).